
Home remodelling - Best Practices for installing Cement tiles on walls or Floor!
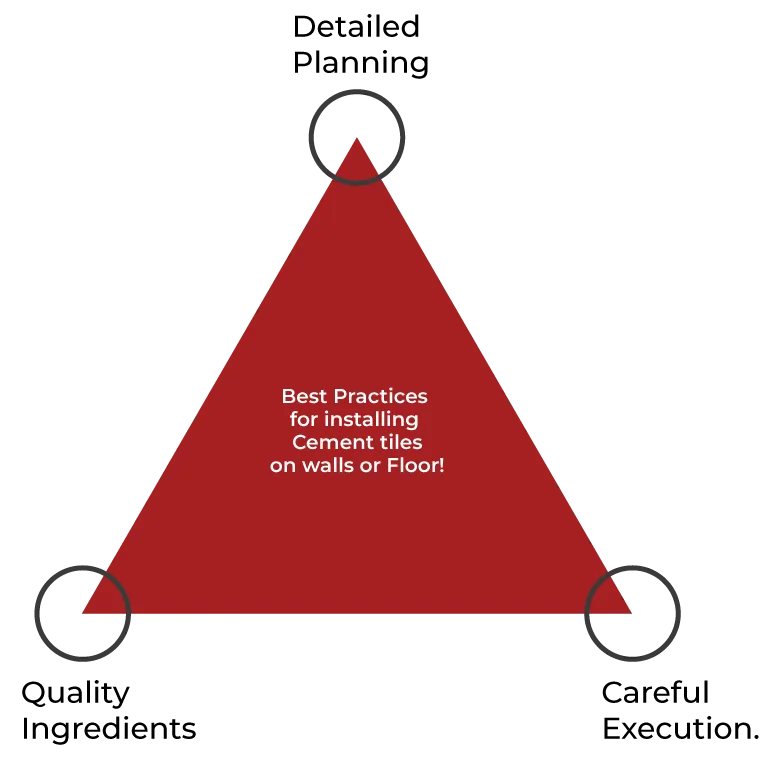
"Just like a well-prepped recipe, cement tile installation requires detailed planning, quality ingredients, and careful execution."
Congratulations on buying cement tiles! A common myth about installing cement tiles in remodeling projects is that they can be a headache. As long as you have good quality cement tiles and sound counsel to guide you through, it is a piece of cake. Just like a recipe in the kitchen, installation requires detailed planning, quality ingredients, and careful execution.

Substrate Preparation, Quality Materials, and Professional Layers
You need an expert tile layer 'period.' Allowing someone who has never laid finished cement tile—similar to those we produce at Lioness Tile—is bound to produce inferior results. Always ask your tile manufacturer to provide or recommend trained layers and review their past project photos. At Lioness Tile, we offer a dedicated team of professional installers bundled as part of our service.
Always go for proven materials. Team Lioness specifically recommends MYK LATICRETE, FILA, or Marble Magik Corporation (Make in India) for tile adhesives, grouts, sealers, and cleaners. We also recommend White Mansion Wax Polish for scratch and stain resistance. We have rigorously tested these products with our cement tiles to verify superior field results.
Step-by-Step Laying, Grouting, and Sealing Protocols
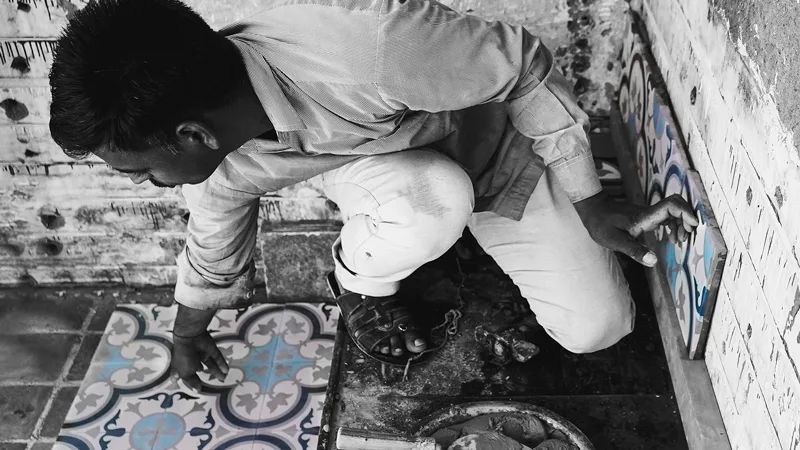
Ensure your wall or floor surface is leveled at zero degrees and has cured in a dry state for at least 7 days (request a moisture test if unsure). Laying cement tiles on a wet bed causes moisture spots on the top layer. Before setting, dry-lay the full pattern (4, 9, 16, 32 tiles) to pencil joining angles, blend subtle artisanal variations, and smooth edges.
"Never use an iron hammer to set cement tiles—always use hands or wooden blocks to prevent hairline cracks on the top layer."
When setting, ensure the layer uses only hands or wooden blocks—never an iron hammer, which causes hairline cracks. Obtain customized color grout from your manufacturer and ensure tight, uniform joints. Because cement tiles are naturally porous, sealing is critical: wait at least 48 hours before applying the first coat, avoid direct sunlight, and allow 4 hours between coats. Perform a quick porosity test by spilling water, tea, or coffee.

As a final optional step, applying a quality wax polish gives added scratch resistance and allows you to adjust the surface sheen to your personal preference. With thoughtful preparation and qualified installers, your cement tile installation will remain an architectural centerpiece for generations.
"With proper leveling, patient sealing, and expert craftsmanship, cement tile installation is a piece of cake."